SF Installer Tutorial
Provisioning an LMU
This tutorial will provide instructions on how to provision LMU controllers.
1
Before you proceed…
Now that you have installed the LMU device, you will need to access the Safe Fleet Cloud Application Suite to finalize the process online. But before proceeding, make sure you complete the following checklist:
- Have the provided Device ID ready.
- Check the controller’s LEDs to make sure they indicate appropriate operational status.
- Know the Fleet ID and the Single Sign On email and password to be used when logging into AVL GPS Tracking application.
2
Logging In
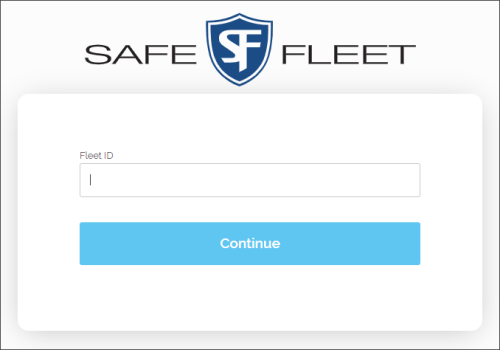
To complete online setup, browse to https://vmaxlive.net/. When the Fleet ID window appears:
-
- Enter your Fleet ID.
- Click Continue. If the Fleet ID is correct, a Login dialog will be displayed.

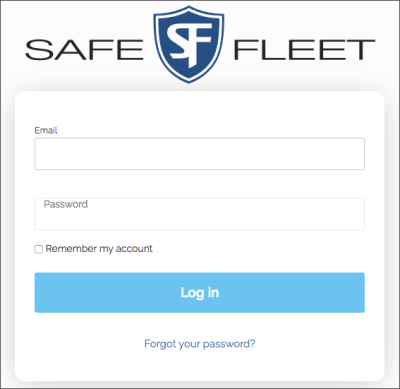
In the Login dialog:
-
- Enter your Email and Password in the provided fields.
- Click Log in.

3
Launching the AVL GPS Tracking Application
Click the AVL GPS Tracking button in the main toolbar.

Ensure that the following happens:
- AVL GPS Tracking application is launched.
4
Accessing the Fleet Settings Module
Click Fleet Settings in the secondary toolbar located on the upper-right section of the screen.

Ensure that the following happens:
- Fleet Settings dialog opens and Users table is displayed.
5
Adding a Vehicle
Within Fleet Settings:
-
- Click the Vehicles tab. The Vehicles table is displayed.
- Click Add on the upper-right corner above the table to create a new Vehicle.

Ensure that the following happens:
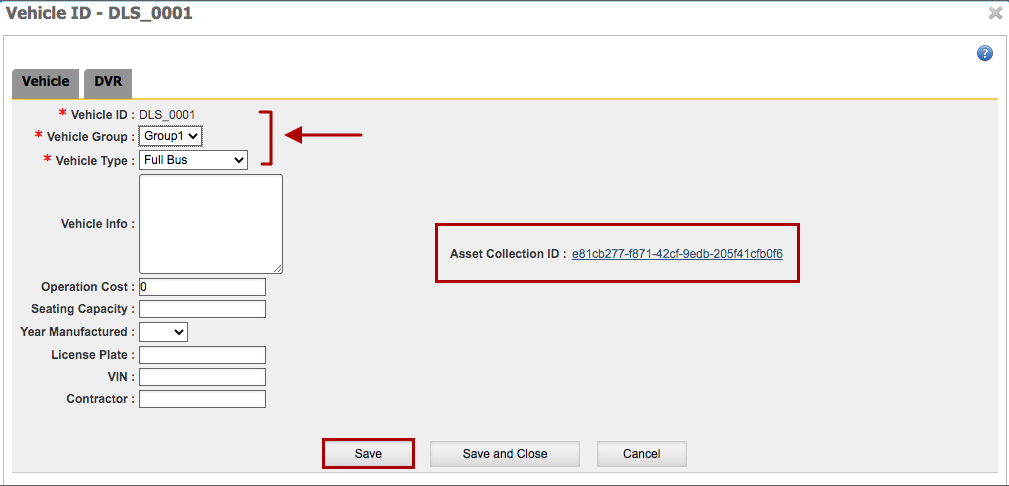
- The Vehicle dialog appears.
Within the Vehicle dialog:
-
- Enter the Vehicle ID, Group and Type (mandatory fields show a red asterisk) and the rest of the information in the corresponding fields as necessary. Notice that Asset Collection ID reads None.
- Click Save. The system automatically assigns an Asset Collection ID which is displayed in the center of the dialog.

Ensure that the following happens:
- The Vehicle configuration is saved.
- An Asset Collection is assigned to the Vehicle and displayed within the dialog.
6
Finding Vehicle in Asset Collections
Within the Integration Module:
-
- Click the Asset Collections tab and search your Vehicle by partially entering the ID in the Vehicle ID field.
- When the Vehicle is listed, click the edit icon (a pencil) under the Actions column on the right.

Ensure that the following happens:
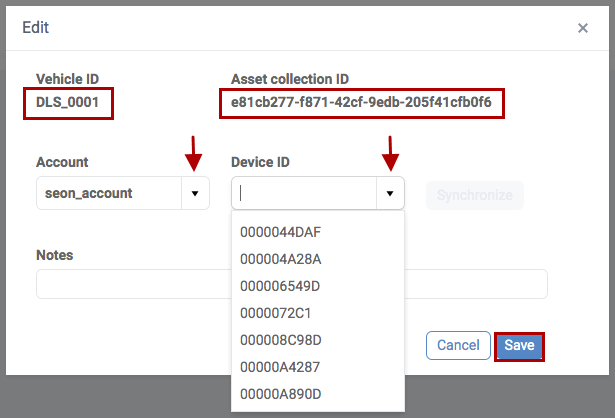
- The Edit dialog is displayed.
7
Linking the LMU controller
The Edit dialog will display your Vehicle ID and the assigned Asset Collection. Bellow:
-
- Select the Account and the Device ID from the provided drop-down menus.
-
Type notes if necessary within the Notes frame.
- Click Save.

Ensure that the following happens:
- The correct Vehicle ID, Asset Collection and Device ID can be found in the main Asset Collection menu within the Integrations module.
NOTE: Missing Device ID
If the Device ID your are looking for does not display in the drop-down menu, contact tech support.